
 how-to
How to Pose for Senior Portraits: 7 Natural Poses
Table of Contents
- Start With a Posing Framework, Not a Checklist
- Standing Poses for Senior Portraits That Look Effortless
- Sitting Poses and Camera Angles That Flatter Every Body Type
- Posing Prompts for Senior Photography That Create Real Movement
- Senior Portrait Outfit Ideas and How They Change Your Poses
- Tips for a Successful Senior Photo Session: Jawlines, Eye Contact, and Confidence
- Common Posing Mistakes to Avoid
- Frequently Asked Questions
Last Updated: October 3, 2026
Start With a Posing Framework, Not a Checklist
Most guides hand you a list of poses. Knowing how to pose for senior portraits is not about memorizing 50 positions, it is about giving the body something real to do.
Here is the framework we use at Swartz Portraits.
Senior portrait posing is the practice of directing a subject's body, hands, weight, and gaze so the camera captures a relaxed, natural version of them. Good posing looks like nothing is happening.
Instead of "put your hand here," give a direction: walk toward me, fix your collar, look at your friend behind me. The body solves the pose.
The 7 Posing Points That Anchor Every Senior Portrait
Every pose comes down to seven points:
- Weight - shift it to one leg, never split it evenly
- Spine - lengthen it, do not stiffen it
- Shoulders - drop the one closest to the camera
- Hands - give them a job or they will fidget
- Chin - push it slightly forward, not up
- Eyes - pick a target, not the lens
- Breath - exhale on the shutter click
Check those seven and the pose works from any angle.
Standing Poses for Senior Portraits That Look Effortless
Standing poses fail when both feet are planted flat and square to the camera. The body reads as a board.
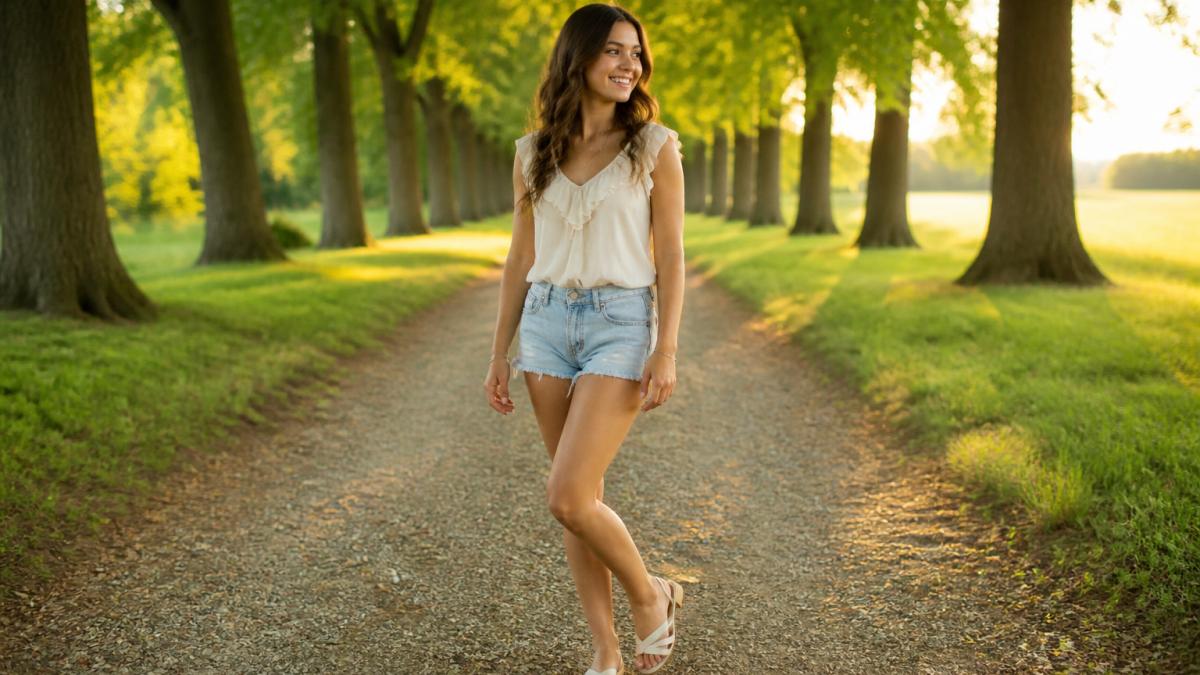
Turn the body about 45 degrees from the lens, shift weight onto the back leg, bend the front knee and lift the front heel. That is the foot pop, and it does more than any arm adjustment.
Weight Distribution and the Foot Pop
Weight distribution is the biggest difference between a stiff pose and a relaxed one.
- Back leg carries 80% of the weight
- Front toe touches down light, heel up
- Hips drop slightly toward the back leg
- Shoulders stay level, or the camera shoulder drops a touch
The foot pop also adds length to the legs and a soft curve to the silhouette.
Sitting Poses and Camera Angles That Flatter Every Body Type
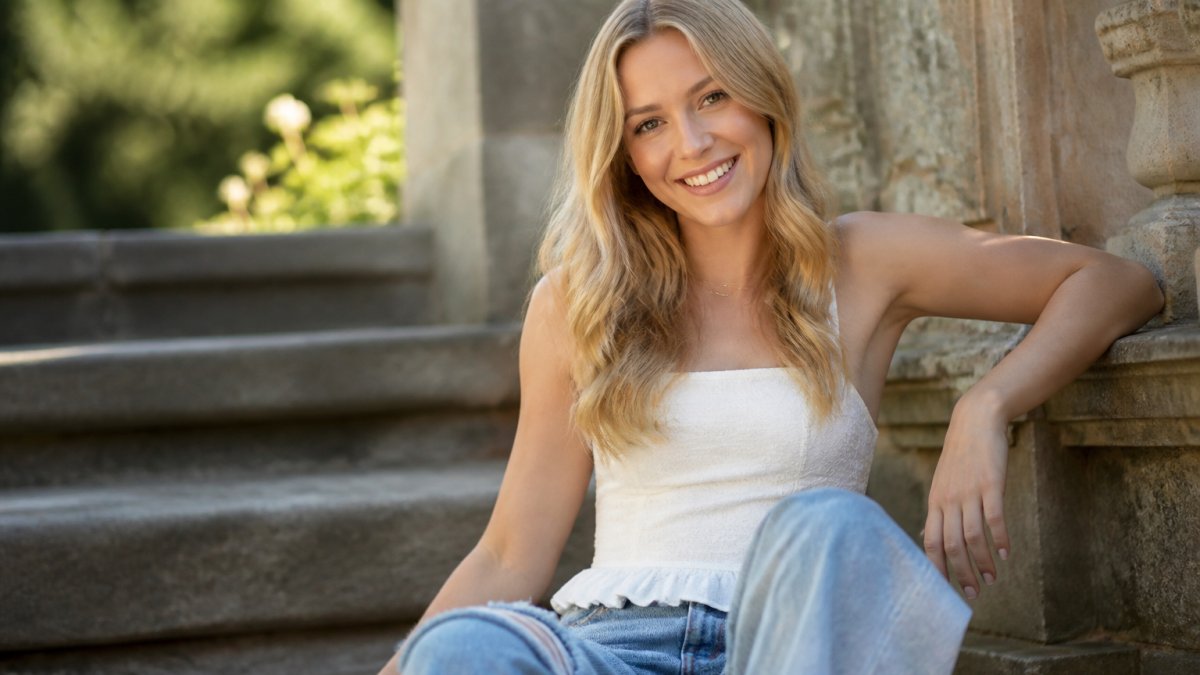
Sitting poses are where body type matters most, and where most guides stay silent. The same perch that flatters a tall, narrow frame can shorten a curvy one.
The rule never changes: never sit square and never sit deep. Perch on the front edge of the seat, angle the body about 45 degrees away from the camera, then turn the face back toward the lens.
Why Camera Height Changes the Whole Pose
Camera height does more work than any arm adjustment. A lens at eye level is the safe default; move it and the body reads differently:
- Slightly above eye level (roughly 6 to 12 inches higher than the subject's eyes): flatters almost everyone. It lengthens the neck, slims the jaw, and puts the eyes on the upper third of the frame. This is the workhorse angle for seated portraits.
- At eye level: neutral and honest. Good for tight head-and-shoulders frames where you want direct connection.
- Slightly below eye level: adds presence and length to the legs, but it also widens the shoulders and can add weight under the chin. Use it deliberately, not by accident.
A common pattern is to shoot seated seniors from a lens a touch above the eyes, then tilt the camera down a few degrees. That keeps the eyes bright and the jaw defined without the distortion of a steep top-down angle.
Matching the Pose to the Body in Front of You
These adjustments build shape where the camera would otherwise flatten it.
Slim or narrow builds: add shape with layers, a crossed arm, or a hand on the hip to break the vertical line.
Broad shoulders: turn one shoulder toward the camera and one away, then shoot slightly above eye level.
Petite frames: shoot slightly lower and stretch the legs toward the lens, perspective adds length.
Hand Placement and Relaxed Posture
Hands ruin more portraits than bad lighting. Left alone, they fidget, clench, or hang. Give them a job:
- Rest one hand on the hip with fingers relaxed, not splayed
- Tuck hair behind one ear
- Hold a jacket lapel or adjust a collar
- Place both hands in the lap, one over the other, fingers soft
Relaxed posture starts in the shoulders. Have the senior take a deep breath, then drop the shoulders on the exhale, that removes most of the tension a seated pose creates.
Posing Prompts for Senior Photography That Create Real Movement
Posing prompts for senior photography replace instructions with actions, which makes photos look real instead of staged.
Try these on your next session:
Schedule a Free Consultation →
- "Walk toward me and tell me about your weekend."
- "Fix your collar like you just noticed it."
- "Look at your mom and give her that face."
- "Spin once, then stop and look back at me."
Movement hides nerves. A senior who is walking, turning, or laughing has no time to feel awkward. You also get natural-looking photos instead of a frozen smile.
Between prompts, let them shake out their arms. A ten-second break resets the whole face.
Senior Portrait Outfit Ideas and How They Change Your Poses
Senior portrait outfit ideas are not just about color. What a senior wears decides which poses will work.
| Outfit | Best Poses | Why It Works |
|---|---|---|
| Flowing dress or skirt | Walking, spinning, seated | Fabric moves and adds shape |
| Jeans and fitted top | Standing, foot pop, hands in pockets | Clean lines, easy hand placement |
| Blazer or jacket | Seated, arms crossed, lapel hold | Gives hands a job, adds structure |
| Athletic jersey or uniform | Action prompts, over-the-shoulder | Fits the story, allows movement |
| Chunky sweater | Seated, hands in sleeves, cozy close-ups | Soft texture, hides stiff arms |
Bring options: unlimited outfit changes let us match the pose to the clothes instead of forcing one to fit the other.
Avoid busy patterns and large logos. They pull the eye away from the face. Solid colors and simple textures keep attention where it belongs.
Tips for a Successful Senior Photo Session: Jawlines, Eye Contact, and Confidence
A few small adjustments carry a whole session.
Jawline definition: push the forehead slightly toward the camera and tilt the chin down a touch to separate the jaw from the neck.
Eye contact: tell the senior where to look.
Confidence: it comes from direction, not from telling someone to relax. "Relax" is not a direction. "Drop your shoulders and look at your mom" is.
Posing for Male Seniors
Male seniors often get the least guidance, and it shows. Most posing content is written for dresses and soft hand placement, then applied to guys who need something different. The fix is fewer, stronger poses with clear structure.
- Hands in pockets, thumbs out. Thumbs tucked inside the pocket pull the shoulders forward and round the back. Thumbs out keeps the chest open.
- Arms crossed, but loose. Crossed arms read as closed when they are tight. Leave a little space between the forearms and the chest, and rest the hands on the biceps rather than gripping.
- One hand on a jacket, a prop, or a ball. Give the free hand a job and the whole pose settles.
- Weight on the back leg, front foot forward. Same weight principle as standing poses, just with a wider stance. A narrow stance on a male senior reads as uncertain.
Build a male senior's session around three or four anchor poses and let movement prompts do the rest. Pair anchors with prompts like "walk toward me and fix your cuff" or "look over your shoulder like someone called your name."
Posing Group and Friend Photos
Group photos are the other gap most guides ignore.
Angle every body. Each person should be turned about 30 to 45 degrees toward the center of the group.
Vary the levels. Have one person seated, one standing, one leaning.
Watch the gaps. Leave a small space between bodies so the background shows through, bodies pressed together merge into one shape.
Common Posing Mistakes to Avoid
The same mistakes repeat across almost every session:
- Square shoulders to the lens - turns the body into a flat wall
- Chin tilted up - kills the jawline and adds shadows
- Flat feet, even weight - the fastest way to look stiff
- Hands hanging with nothing to do - they will fidget
Fix these six and most posing problems disappear. Posing is direction, not correction, tell the senior what to do, not what they are doing wrong.
If you want this handled for you, that is exactly what we do. Swartz Portraits is led by Master Photographer Ty Swartz, and our sessions run up to five hours with unlimited outfit changes. You get a personalized consultation, a private reveal, and museum-quality heirlooms handcrafted in Italy, plus high-resolution files of every portrait.
Frequently Asked Questions
What are the 7 posing points for portrait photography?
The seven posing points are the body's key contact and angle spots: eyes, nose, chin, shoulders, hips, knees, and feet. Photographers adjust each one to create flattering angles and natural-looking photos in senior portraits. For example, angling the shoulders slightly away from the camera while turning the chin back toward the lens adds jawline definition. The feet stay staggered to keep weight distribution natural. Your photographer will guide each point during the session, so you don't need to memorize them.
How do you look natural in high school senior portraits?
Movement is the fastest way to look natural. Instead of holding a frozen pose, try walking toward the camera, adjusting your hair, or laughing at a prompt from your photographer. These posing prompts for senior photography create genuine body language and relaxed posture. Eye contact matters too: look at the lens for a few frames, then look away and back. A Master Photographer will direct this flow so you never feel stiff or unsure about what to do next.
What should I wear to my senior portrait session?
Bring outfit options that reflect different sides of your personality, and check how each one moves when you sit, stand, and walk. Solid colors and textured layers photograph well, while large logos and busy patterns can distract. Senior portrait outfit ideas work best when you plan them around your poses: fitted tops show shoulder angles clearly, while flowy fabrics look better in movement shots. An unhurried session with unlimited outfit changes lets you try several looks without rushing.
How do I prepare for a professional senior portrait session?
Practice a few relaxed expressions in a mirror, but don't over-rehearse poses. Get a good night's sleep, hydrate, and bring your outfits organized on hangers. Arrive with clean hair and makeup you can touch up, and bring any props that tell your story, like a sports jersey or instrument. The most important preparation is choosing a photographer whose guidance puts you at ease, because a comfortable senior feels confident, and that confidence shows in every frame.
Posing a senior well takes practice, patience, and a photographer who reads people, not just light. That is the work we have done for more than 1,000 seniors over four decades. At Swartz Portraits, Master Photographer Ty Swartz brings M.Photog.Cr and CPP credentials to every session, along with unlimited outfit changes and up to five hours of unhurried time. Get started with Swartz Portraits and turn a milestone into a family heirloom built to last for generations.