 How-to
9 Steps in a Senior Portrait Session Timeline Explained
Last Updated: November 19, 2026
Quick Summary
A senior portrait session follows nine steps, from a free 60-minute in-home consultation to the final prints and wall art. The session itself can run up to five hours with unlimited outfit changes and multiple locations, and proofs are revealed in person 7 to 10 days later.
- Start with a complimentary 60-minute in-home consultation to plan locations and wardrobe.
- The session can run up to five hours, with unlimited outfit changes and multiple locations.
- Proofs are revealed in person 7 to 10 days after the session.
- Book early, since the studio photographs only 100 seniors per year.
Table of Contents
- How a Senior Portrait Session Unfolds from Start to Finish
- When to Book: How Far in Advance Should You Schedule Senior Pictures
- Preparing Before the Session: Consultation, Questionnaire, and Planning
- What to Wear for Senior Pictures: Choosing Looks That Read as You
- Senior Photo Outfit Guide: Building a Wardrobe for Multiple Looks
- A Sample Session Schedule: How Long Senior Pictures Take
- Weather, Delays, and Rescheduling: Contingency Planning
- After the Session: Proofs, Selection, and Delivery
- Scheduling Your Session: Booking Your Free in-Home Consultation
- Frequently Asked Questions
How a Senior Portrait Session Unfolds from Start to Finish
A senior portrait session follows a clear sequence, from the first conversation to the final reveal. Families who want the detailed guide can read how to prepare for a senior portrait session before the shoot. At Swartz Portraits, every session moves through nine steps, and each one has a purpose. Knowing the full senior portrait session timeline helps families plan their calendar and arrive ready.
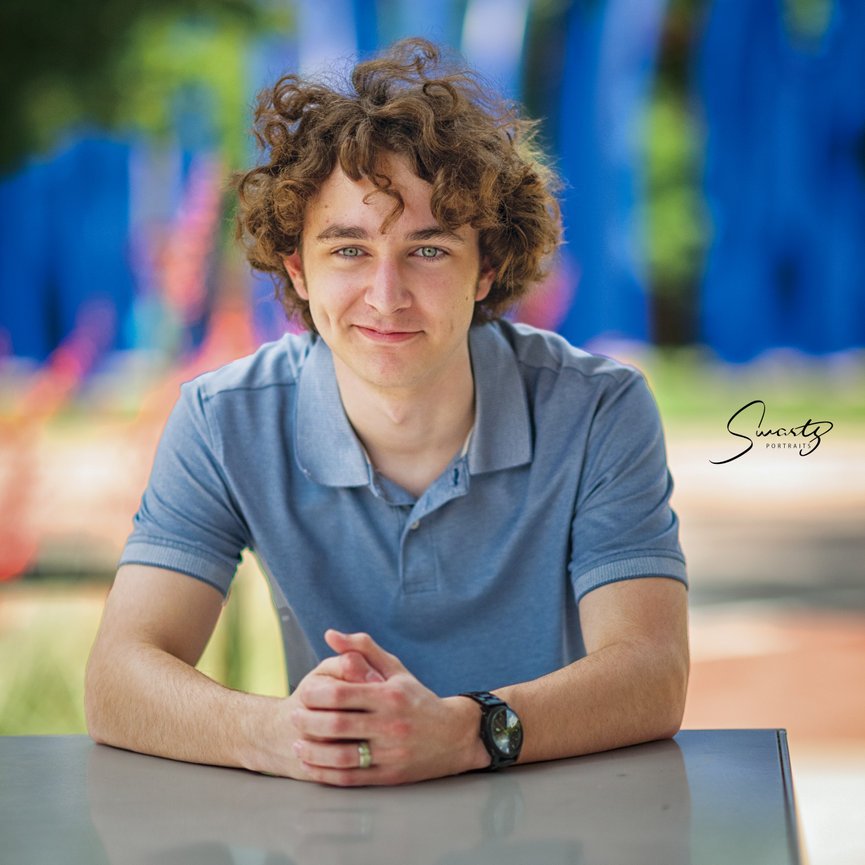
Most sessions begin with a complimentary 60-minute in-home consultation. From there, the studio plans locations, wardrobe direction, and the day of the shoot. The session itself can run up to five hours, with unlimited outfit changes and multiple locations. Proofs are then revealed in person 7 to 10 days after the session.
The steps, in order:
- Book your free in-home consultation.
- Complete the senior questionnaire and planning worksheet.
- Choose your session date and time.
- Select locations that suit your personal style.
- Arrive for hair, makeup, and wardrobe check.
- Shoot the session, including outfit changes and multiple locations.
- Review the session flow and take a short break as needed.
- Receive proofs in person, 7 to 10 days later.
- Select your heirloom prints, albums, or wall art.
Each step builds on the one before it.
When to Book: How Far in Advance Should You Schedule Senior Pictures
Book early. Booking early gives you more date options, more time to plan outfits, and room for the yearbook deadline. Follow the step-by-step booking guide to reserve your date.
Studio calendars fill in the months before graduation. Because Swartz Portraits photographs only 100 seniors per year, with no more than 8 from any single high school, the calendar has real limits. Families who book early have the most flexibility.
A simple booking timeline:
- Summer before senior year: Book the consultation and reserve a session date.
- Early fall of senior year: Finalize outfits and locations.
- Late fall of senior year: Plan proof selection before the holidays.
Preparing Before the Session: Consultation, Questionnaire, and Planning
Preparation starts with the in-home consultation. During this 60-minute visit, the studio learns about the senior's personality, interests, and style. This conversation shapes every decision that follows, from location to wardrobe.
After the consultation, the senior completes a questionnaire. It asks about favorite places, hobbies, and the look they want to project. Answers help the studio choose settings that feel like the student, not a generic backdrop.
Practical preparation steps include:
- Gather three to five places that matter to you, such as a favorite park or campus area.
- List the hobbies and activities you want to show in your portraits.
- Note any hair or grooming routines you plan to keep.
- Confirm your session date with your family's calendar, including sports and school events.
What to Wear for Senior Pictures: Choosing Looks That Read as You
Clothing should reflect the senior, not a trend. Use the free senior style guide to see looks and preparation tips for choosing outfits. Choose pieces that fit well, hold their shape, and sit comfortably for hours of movement. Solid colors and rich textures tend to photograph better than busy prints.
A good wardrobe for senior pictures usually includes a mix of looks:
- One classic look, such as a tailored top or a simple dress.
- One casual look that feels personal, like a favorite jacket or denim.
- One statement look that shows confidence and style.
Avoid logos, bold text, and anything that competes with your face. Bring each outfit on a hanger, and bring a spare in case of a stain or tear.
Senior Photo Outfit Guide: Building a Wardrobe for Multiple Looks
A session with unlimited outfit changes gives you room to explore. The complete senior portrait wardrobe guide explains how many outfits to bring and how wardrobe drives location. Plan your wardrobe around the locations you chose. An outfit that suits a garden may feel out of place on a waterfront.
Build your wardrobe in layers:
- Base pieces: Neutral tops, bottoms, and dresses that work together.
- Accent pieces: Jackets, scarves, or belts that change the look quickly.
- Shoes: Bring at least two pairs, one dressy and one comfortable for walking.
Pack outfits in order of planned use, so changes move smoothly on shoot day. Label garment bags with the location each outfit belongs to.
A Sample Session Schedule: How Long Senior Pictures Take
A full senior portrait session can run up to five hours. That window is generous on purpose. It leaves room for travel between locations, unlimited outfit changes, and the small pauses that keep a senior relaxed in front of the camera. Your session may run shorter or longer depending on how many locations you choose and how many outfit changes you plan.
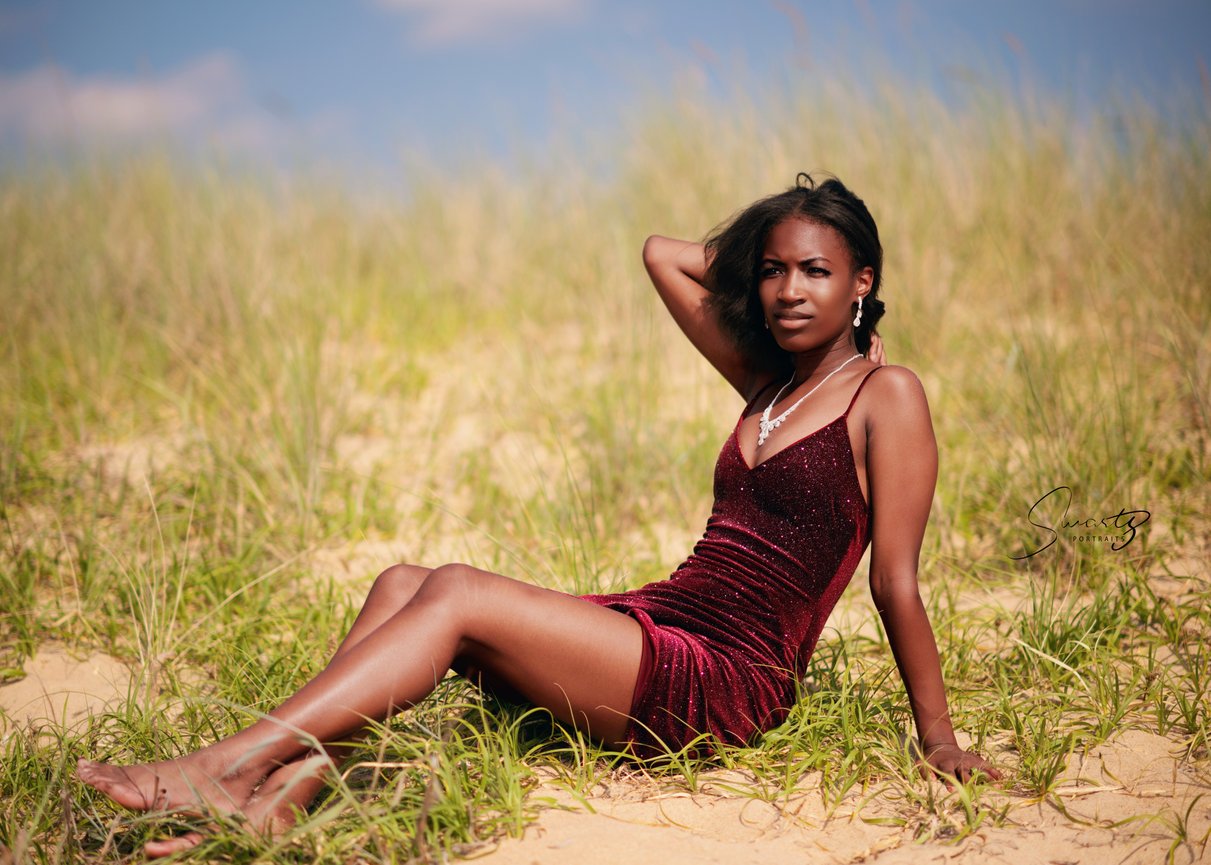
- 0:00 to 0:30, Arrival and wardrobe check. The senior arrives with hair and makeup already done or finishes light grooming on site. Outfits are hung in order of use, and the first look is confirmed. This is also when the Master Photographer reviews the shot list against the questionnaire.
- 0:30 to 1:30, First location, first two outfits. The first location is usually the closest to the studio or the one with the softest morning light. Two looks are photographed here, with a quick change between them. Posing starts simple and builds as the senior warms up.
- 1:30 to 2:15, Travel and a short break. Drive time between locations plus ten to fifteen minutes to sit, drink water, and touch up hair and makeup. The break is not wasted time. It resets energy before the middle of the session.
- 2:15 to 3:30, Second and third locations. This is the heart of the session. Additional outfit changes happen here, and the settings shift from, for example, a garden to a waterfront or an urban street. Posing becomes more confident because the senior has settled in.
- 3:30 to 4:30, Final location and the statement look. The boldest outfit and the most dramatic light of the day land here.
- 4:30 to 5:00, Wrap-up and review. The senior changes back into travel clothes, and the Master Photographer confirms that every planned look and location was covered. Any missed shot is noted before the senior leaves.
Plan the day so the session fits comfortably.
A few decision rules keep the schedule honest:
- Extreme heat: In a Texas summer, shift the session earlier in the morning or later in the evening and build in more water breaks. A senior who is overheated photographs tired, no matter how good the outfit is.
- Late arrival: A fifteen-minute buffer in the family's morning schedule protects the first block. If arrival slips, the first location absorbs the loss rather than the final one.
- Location closure: Confirm each public location's hours and any permit rules a week before the session. If a site closes unexpectedly, the backup location chosen at the consultation takes its place without cutting a look.
- Accessibility or sensory needs: Tell the studio at the consultation. A shorter route, a seated posing option, or a quieter location can be built into the schedule so the timeline works for the senior rather than against them.
Watch out: booking a session with no travel buffer between locations is the fastest way to lose an entire look from the day.
The session is built in blocks, and each one has a clear job. The table below summarises the timing for each block.
| Block | Time | What happens |
|---|---|---|
| Arrival and wardrobe check | 0:00 to 0:30 | Outfits hung in order of use; first look confirmed |
| First location | 0:30 to 1:30 | Two looks photographed; posing starts simple |
| Travel and short break | 1:30 to 2:15 | Drive time plus 10 to 15 minutes to reset |
| Second and third locations | 2:15 to 3:30 | Additional outfit changes; settings shift |
| Final location | 3:30 to 4:30 | Boldest outfit and most dramatic light |
| Wrap-up and review | 4:30 to 5:00 | Change clothes; confirm every planned look was covered |
Weather, Delays, and Rescheduling: Contingency Planning
Outdoor sessions depend on weather. Check the forecast a few days before the session, and keep a backup date in mind. Light rain can produce beautiful images, but heavy storms and lightning call for rescheduling.
Plan for these common issues:
- Weather: Choose a backup date and confirm it with the studio early.
- Late arrivals: Build a small buffer into your morning schedule.
- Wardrobe problems: Pack a spare outfit and a basic repair kit.
- Illness: Contact the studio as soon as you know, so you can reschedule.
Clear communication keeps the session on track and protects your booking.
After the Session: Proofs, Selection, and Delivery
Proofs are revealed in person 7 to 10 days after the session. Use this checklist of what to look for in a senior photo studio to compare each studio's process for proofs and delivery.
The full after-session timeline runs in five stages:
- Culling and preparation, days 1 to 7. The session is edited down to the strongest images. This is where the timeline is protected, because a rushed cull is how a good frame gets lost.
- In-person reveal, days 7 to 10. The family views the proofs together and marks favorites. This is the moment to talk through prints, albums, and wall art while the images are fresh.
- Selection and order, at the reveal or within a few days after. The senior and parents choose the heirloom pieces. Museum-quality prints, albums, and wall art are handcrafted in Italy by GraphiStudio.
- Retouching and production, after the order is placed. Final retouching is completed, then the order moves into production. Handcrafted pieces take longer than a standard print lab, and the studio confirms the delivery window at the time of order.
- Delivery and installation. Prints and albums arrive ready to display. Wall art is sized to the space discussed at the consultation, so it hangs correctly the first time.
Take time with the selection. The images are meant to last for generations, and the reveal is the only point in the process where every option is on the table at once.
A few practical notes for the family:
- Bring the decision makers. The senior and at least one parent should attend the reveal. A selection made by one person and second-guessed by another slows the order.
- Know the wall. Measure the space where wall art will hang before the reveal. Size decisions are easier with a real measurement in hand.
- Ask about the delivery window in writing. Production timelines for handcrafted pieces vary, and a written window removes guesswork around holidays and graduation.
- Plan for the yearbook deadline. If the school needs a portrait submitted, confirm that date at the consultation so the after-session timeline is built backward from it.
Watch out: waiting until after the reveal to ask about production and delivery timing is how families end up without wall art in time for graduation.
Scheduling Your Session: Booking Your Free in-Home Consultation
Your senior portrait session begins with a conversation. The complimentary 60-minute in-home consultation lets you meet Master Photographer Ty Swartz, M.Photog.Cr., CPP, and plan your session together. With more than 40 years of experience and over 1,000 seniors photographed, the studio brings a careful, personal approach to every shoot.
Space is limited. Swartz Portraits photographs 100 seniors per year, with no more than 8 from any single high school.
Schedule your free in-home consultation.
Frequently Asked Questions
How long should senior pictures take?
A senior portrait session can run up to five hours, with unlimited outfit changes and multiple locations included in the $300 session fee. Your Master Photographer will map out the schedule with you during your complimentary in-home consultation.
How far in advance should you schedule senior pictures?
Swartz Portraits photographs only 100 seniors per year and no more than 8 from any single high school. Scheduling your free in-home consultation first lets you plan the session date, locations, and wardrobe with enough lead time before yearbook and graduation deadlines.
What should you bring to a senior portrait session?
Bring a full wardrobe of outfits, including coordinated pieces for different looks, plus any shoes, accessories, and grooming items you may need.