 how-to
High School Senior Photo Session Timeline
Table of Contents
- When to Take Senior Pictures
- Senior Portrait Session Length and What to Expect
- Senior Photo Session Preparation Checklist
- Senior Portrait Outfit Planning
- Your Hour-by-Hour Session Day Timeline
- Yearbook Deadlines and Planning Backward
- From Session to Portrait Delivery
- Rescheduling and Weather Backup Plans
- Conclusion
- Frequently Asked Questions
Last Updated: October 16, 2026
When to Take Senior Pictures
The best time to schedule your high school senior photo session timeline is between March and October, when weather and natural light are most reliable. Booking in these months ensures portraits are ready before graduation announcements and yearbook deadlines.
Your senior portrait session timeline should account for three milestones: when to start planning, when to schedule, and when to expect final portraits. Starting early removes stress and opens up the best dates and locations.
Best Months for Your Senior Portrait Session
Spring (March through May) brings fresh blooms and soft, even lighting that flatters skin tones. Early spring can be unpredictable, so keep a backup date in mind.
Summer (June through August) offers long daylight hours, though midday heat can make outdoor sessions uncomfortable. Many families choose early morning or late afternoon. Late summer tends to be busy as families rush to finish portraits before school starts.
Fall (September through October) delivers dramatic skies, cooler temperatures, and rich colors, with warm golden hour light. Fall is popular, so book early in the year for a fall session.
Winter (November through February) is possible but requires flexibility. Cold weather limits outdoor options, so plan for indoor or sheltered locations.
How Far in Advance to Book
Plan your senior photo session timeline by booking 4 to 6 months ahead. That gives you time to plan outfits, coordinate with your Master Photographer, and secure preferred dates.
Juniors should start thinking about portraits in the fall or early winter to book spring or summer sessions before the rush. Parents should start the conversation by January or February to lock in a spring or early summer date.
Last-minute bookings limit your options. Booking within 6 weeks of your desired date means fewer available slots and less time to prepare outfits and locations.
Senior Portrait Session Length and What to Expect
A high school senior photo session timeline typically spans 2 to 5 hours, depending on outfits and locations. This unhurried approach lets you explore different looks, poses, and settings without feeling rushed.
Understanding Your Session Hours
Most sessions run 3 to 5 hours, giving you room to move between locations, change outfits, take breaks, and let the senior relax.
The first 30 to 45 minutes include a brief consultation, outfit selection, and initial poses. Your Master Photographer discusses what works best for your senior's personality and style.
The middle of your senior photo session timeline involves moving through locations or changing outfits. Travel time between outdoor spots is built in.
The final portion focuses on last-minute outfit ideas and wrapping up. Many sessions end with relaxed, candid shots that often become favorites.
Senior Photo Session Preparation Checklist
Preparing for your high school senior photo session timeline starts weeks in advance. A solid checklist ensures you feel confident on session day.
Two Weeks Before Your Session
Start finalizing outfits now. Lay them out and check that colors complement your skin tone and nothing needs pressing or mending.
Confirm the session date and time with your Master Photographer. Double-check location details, parking, arrival instructions, and any restrictions at outdoor locations.
Plan your hair and makeup. Book any appointments now, or do a test run if you're handling it yourself.
Review location suggestions and ask about weather backup plans. Confirm arrival time and meeting point.
One Week Before Your Session
Finalize outfit selections and make any last-minute alterations. Lay out each outfit with shoes and accessories for quick changes.
Get good sleep several nights this week. Well-rested skin and eyes show in photos.
Pack a small bag with touch-up supplies: lip balm, powder, bobby pins, and safety pins. Keep jewelry and accessories organized for quick outfit changes.
Check the forecast for your session day. If rain or cold is predicted, confirm backup plans with your Master Photographer.
The Day Before and Morning Of
Eat a good breakfast and hydrate on session day. Apply makeup the morning of your session rather than the night before for fresher skin.
Allow time for hair and makeup so you're not rushed.
Wear comfortable clothes that won't wrinkle your outfit or mess up your hair. Bring a robe or loose jacket to wear until the camera is ready.
Charge your phone and arrive 10 to 15 minutes early so you're not stressed about timing.
Senior Portrait Outfit Planning
Your outfit choices define the look and feel of your senior portraits. The best outfits reflect your personality and make you feel confident and comfortable.
Selecting Your Outfits
Choose outfits that feel like you. If you normally wear jeans and a nice top, that beats a formal dress that feels out of place. Your senior portraits should look like you.
Avoid busy patterns and logos. Solid colors and subtle textures photograph better and age well. Neutrals like black, white, navy, cream, and gray pair with most skin tones and backgrounds.
Consider contrast. In a green park, avoid all green. In front of a brick wall, avoid rust or brown tones that blend in.
Bring two or three outfit options for variety. One casual, one polished, one in between.
Think about layers. A jacket, cardigan, or blazer transforms a basic outfit and adds flexibility if weather changes.
Outfit Changes and Location Coordination
Plan outfit changes around locations. A casual outfit suits a park or waterfront. A dressier outfit suits an urban or architectural backdrop.
Bring outfit changes in a garment bag, organized in the order you plan to wear them.
Allow 5 to 10 minutes per outfit change, including hair and makeup touch-ups. Your Master Photographer will guide the timing.
Wear slip-on shoes to make outfit changes easier.
Your Hour-by-Hour Session Day Timeline
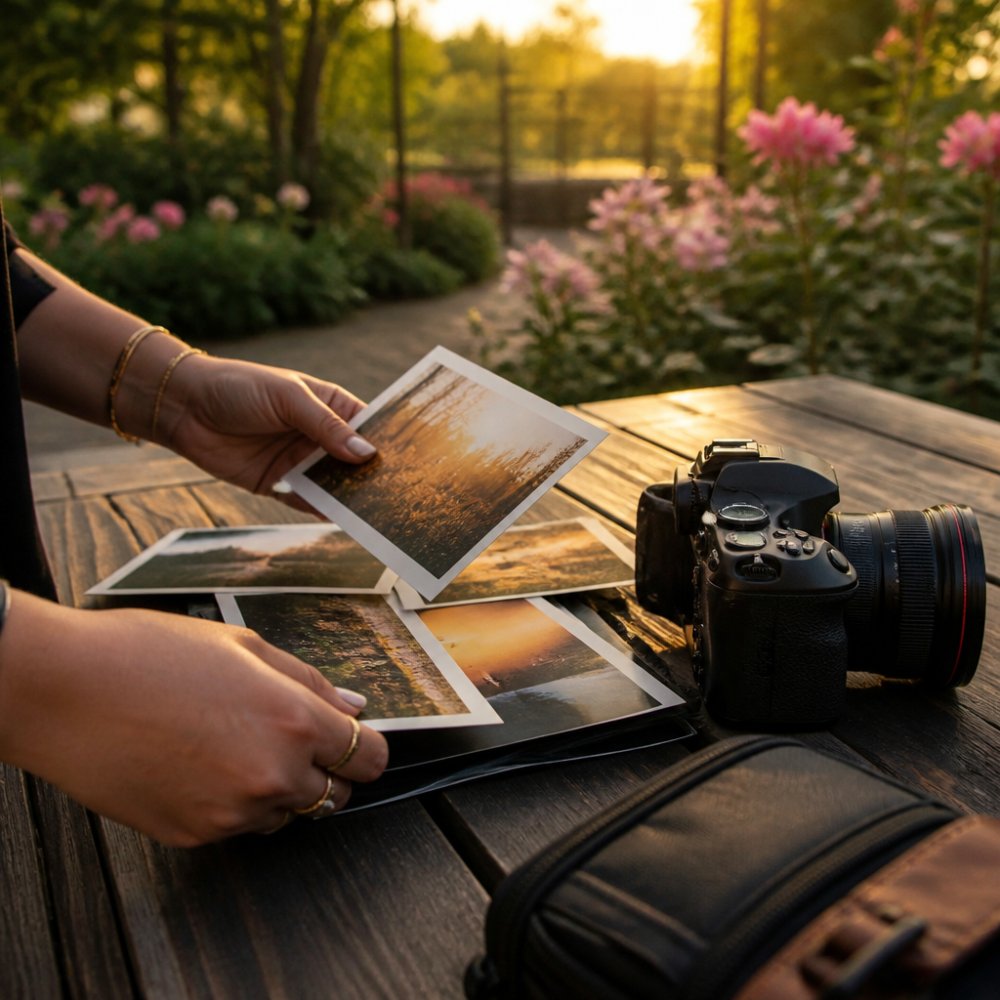
Here is the real shape of a five-hour high school senior portrait session, plus how a shorter session compresses it.
Before the Camera Comes Out (First 30 to 45 Minutes)
You arrive, and nothing is rushed. Your Master Photographer reviews the plan, looks at your outfits, and decides the order based on light. The first location is chosen for the light, not the outfit.
A late afternoon session usually starts at an open, sunlit spot like Lake Conroe or Mercer Botanic Gardens, where soft light holds longest. A mid-morning session often starts at a shaded location like The Woodlands Waterway or Old Town Spring.
You get a few warm-up poses here. They exist to get the stiffness out.
The Middle Hours: Where the Real Work Happens
Once you are loose, the session moves into its working rhythm. A five-hour session typically covers three to four looks across two or three locations. Travel between locations is built into the clock, not subtracted from it.
A common pattern looks like this:
- Look one: Casual, at an outdoor location with strong natural light. Roughly 45 to 60 minutes of shooting.
- Look two: A step up in polish, often at a second location. Another 45 to 60 minutes.
- Look three: Dressier or more editorial, often at a third spot or back at the first location as the light changes. 45 to 60 minutes.
- Look four (optional): A final, relaxed set, often candid, captured in the last stretch of golden hour.
Outfit changes take 10 to 15 minutes each once you factor in hair touch-ups, jewelry, and shoes. That time is real, and it is why a five-hour session with unlimited outfit changes produces more variety than a two-hour session ever can. Prioritizing these transitions ensures that your look remains polished throughout the shoot, much like the preparation required when booking hair services for your upcoming formal events.
The Final Hour: The Shots You Did Not Plan
By hour four, you have stopped performing. That is the point. The last hour of a five-hour session often produces the portraits families choose for the wall, because the senior has relaxed into themselves.
Your Master Photographer will use this window for movement, walking shots, and quiet moments between poses. If the light is turning gold, this is when the most cinematic frames happen.
How a Shorter Session Compresses This
Not every senior needs five hours. Here is how the timeline scales:
- Two-hour session: One location, two outfits. No travel time. Best for a senior who wants a clean, focused set of portraits and does not want to spend a full afternoon.
- Three-hour session: One or two locations, two to three outfits. The most common middle ground. Enough variety for a yearbook portrait, a graduation announcement image, and a few wall pieces.
- Five-hour session: Multiple locations, unlimited outfit changes, and the full arc from posed to candid. Best for seniors who want a collection, not a single image.
Yearbook Deadlines and Planning Backward
Yearbook deadlines are the single hardest date in the senior portrait timeline, and they are almost always earlier than families expect. Most high schools require senior portraits by late fall or early winter, even though the yearbook itself does not print until spring. That means your session has to happen months before the deadline, not weeks.
Why the Deadline Is Earlier Than It Looks
A yearbook submission is not the same as a finished portrait. Between your session and your school's deadline, several things have to happen:
- Your session takes place.
- Your Master Photographer edits and prepares your proofs, which takes 7 to 10 days.
- You attend your in-person reveal and select your images.
- Your chosen yearbook image is prepared and submitted to the school.
Each step takes time. A session booked three weeks before the yearbook deadline will not work, no matter how fast anyone moves.
A Month-by-Month Backward Calendar
Here is how the timeline works backward from a typical late-October or early-November yearbook deadline. Adjust the months to your school's actual date.
June: Confirm your school's yearbook portrait deadline in writing. Do not rely on a friend's memory or a hallway rumor. Email the yearbook advisor or check the school's senior handbook.
July: Book your session. Summer dates fill first because families want portraits done before the school year starts.
August: Finalize outfits, schedule hair and makeup if you are using it, and confirm locations. If you are shooting outdoors, this is also the month to lock in a backup weather date.
Late August or early September: Shoot your session. This is the sweet spot for a late-October yearbook deadline. It leaves room for a weather reschedule without panic.
Early to mid-September: Attend your in-person reveal, 7 to 10 days after the session, and select your yearbook image.
Mid to late September: Your yearbook portrait is submitted. You are now ahead of the deadline, not racing it.
October through November: Order graduation announcements, wall art, and albums without time pressure.
What Happens If You Miss the Yearbook Window
Some schools accept a senior's own portrait for the yearbook. Others require a specific submission format or a specific studio. If you miss the school's deadline, the yearbook may print a placeholder or a photo from an earlier school session. That is a permanent outcome in a book your senior keeps for decades.
If your school allows a self-submitted portrait, confirm the file requirements early: resolution, crop, background, and whether the school requires a specific head size. A portrait that is beautiful on the wall can still be rejected by a yearbook editor for a technical reason.
Graduation Announcement Deadlines
Graduation announcements usually have a later deadline than the yearbook, often in December or January. But the images for those announcements come from the same session. If you want a specific portrait on your announcements, you need your session done early enough to have final images in hand before that deadline, not just proofs.
Weather, Illness, and the Backup Date
A backward calendar only works if it has slack in it. Build in one full backup week between your session and your yearbook submission. That week absorbs a rain reschedule, a sick day, or a delayed proof delivery without pushing you past the deadline.
If your session is in late August and your yearbook deadline is November 1, you have roughly nine weeks of buffer. If your session is in mid-October and your deadline is November 1, you have almost none. The calendar is not about being early for its own sake. It is about protecting the one deadline you cannot move.
From Session to Portrait Delivery
Your senior photo session timeline doesn't end when the photographer says goodbye. What happens next is just as important.
After your session, the photographer edits your images. This typically takes 7 to 10 days. You'll receive a private online gallery or in-person reveal where you see all the portraits.
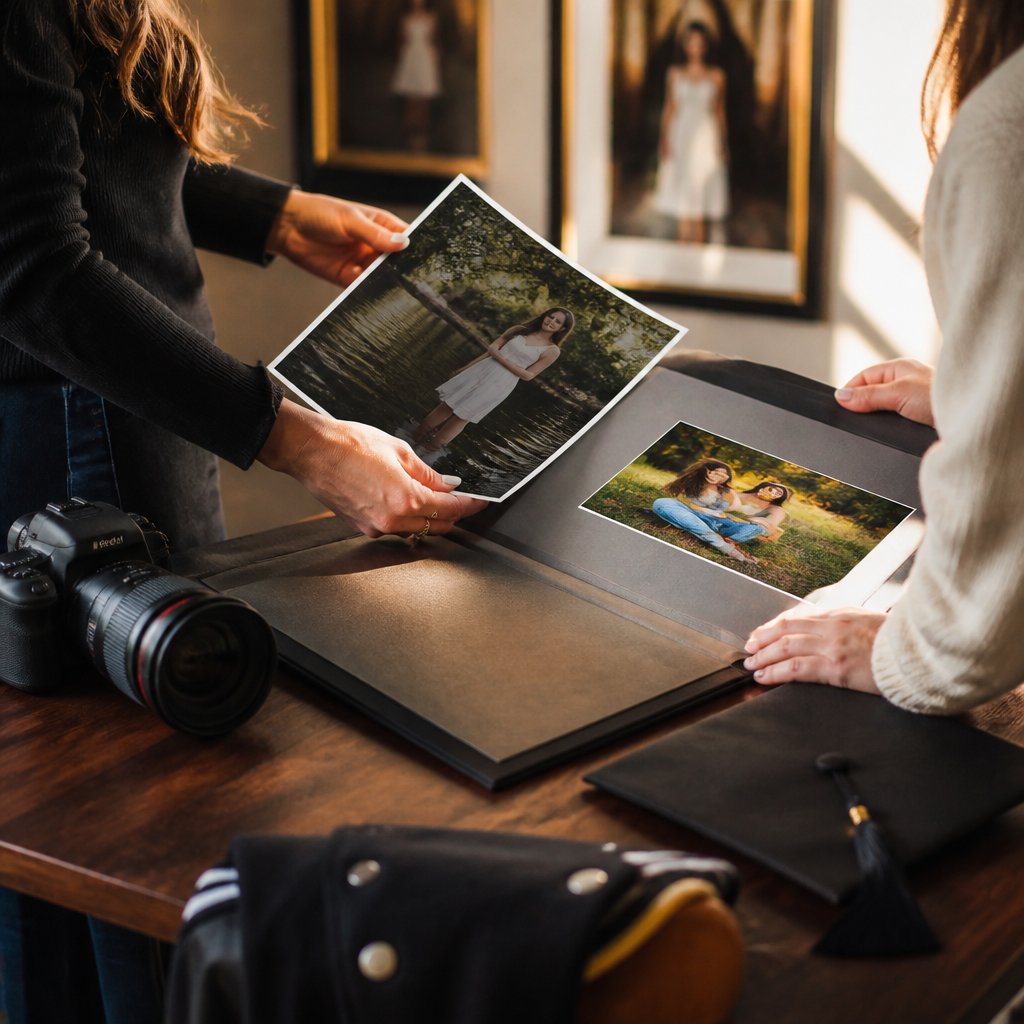
At the reveal, you select which images you want as final portraits. This is when you decide which outfit looks best, which poses feel most like you, and which backgrounds you prefer.
From there, you can order prints, albums, or wall art. Swartz Portraits partners with GraphiStudio, which produces museum-quality heirloom prints, albums, and wall art handcrafted in Italy.
Allow 2 to 4 weeks from your final image selection to receiving physical prints or albums. If you need portraits for yearbook or graduation announcements, factor this timeline in when you schedule your session.
High-resolution files of every portrait are provided for sharing and social media.
Rescheduling and Weather Backup Plans
Weather happens. Your senior photo session timeline should include a backup plan.
If rain or extreme weather is forecast for your session day, contact your photographer at least 24 hours in advance. Most photographers have backup indoor locations or are willing to reschedule to the next available date.
Rescheduling typically costs nothing if it's weather-related.
If you need to reschedule for personal reasons, check your photographer's rescheduling policy.
Have a backup date in mind when you book. If your first choice is a Saturday in May and weather forces a reschedule, knowing you can move to the following Saturday eliminates stress.
Indoor locations are an option in bad weather. Many photographers have access to studios, historic buildings, or covered outdoor spaces that work when weather doesn't cooperate.
Conclusion
A well-planned high school senior photo session timeline removes stress and ensures you're ready for this important milestone. Booking 4 to 6 months ahead, preparing outfits and locations in the weeks before, and understanding what happens during and after your session gives you confidence and peace of mind.
At Swartz Portraits, we guide families through every step of this timeline. Our complimentary in-home consultation walks you through the entire process, from session planning to final portrait delivery. With up to five hours of unhurried session time and unlimited outfit changes, you'll have the variety and flexibility to capture portraits that truly reflect who you are. Your high school senior portraits become heirlooms designed to last for generations.
Schedule your free in-home consultation.
Frequently Asked Questions
How long is a high school senior portrait session?
A senior portrait session typically lasts up to five hours, giving you and your senior unhurried time to explore multiple locations, try different outfits, and create a diverse collection of images. This extended timeframe means no rushing between setups or limited outfit changes. You'll have flexibility to move at a comfortable pace, take breaks, and ensure your senior feels relaxed and confident throughout the day.
When should you schedule senior portraits before graduation?
Plan to schedule your session 6 to 9 months in advance, ideally during your junior year or early senior year. This timeline allows you to secure your preferred session date and season, complete your session well before yearbook deadlines, and receive final portraits in time for graduation announcements and displays. Booking early also ensures you're not competing for limited availability close to graduation.
What should you do before a senior portrait session?
Prepare by selecting 3 to 5 outfits that reflect your senior's personality and style, scheduling hair and makeup appointments if desired, and confirming location details with your photographer. Two weeks before, finalize outfit choices and check weather forecasts. One week prior, iron or steam clothing and confirm all session details. The night before, set out everything you'll need and get good rest. On session day, eat a light breakfast and arrive with a clear mind ready to enjoy the experience.
How long after a senior session are portraits ready to view?
Proofs are typically revealed in person 7 to 10 days after your session. This timeframe allows your photographer to carefully review and select the best images from your session. The in-person reveal gives you the opportunity to see your portraits on a professional display, discuss your favorites, and plan your final selections for prints and wall art without rushing the decision.